The week before last, ghd invited me on an extra special trip to Chicago, ‘The Windy City’ to test out and review their new range of curlers, ghd Curve. Obviously this wasn’t an opportunity I could turn down. I’ve never been to Chicago before and it’s always been on my list of places I’d love to visit. I’ve also been a huge fan of ghd for many years, so I was really excited not only to hear that they were launching a range of curlers, but also to try them out myself! I’ve had so many comments and tweets over the past couple of weeks asking me what I thought of them, so I thought I would do a proper in-depth review on my blog.

First of all, it’s important to note the design and packaging of the whole range, as it is simply stunning…
Each curler comes in a gorgeous sleek black case with rose gold hardware and a detachable heat mat.
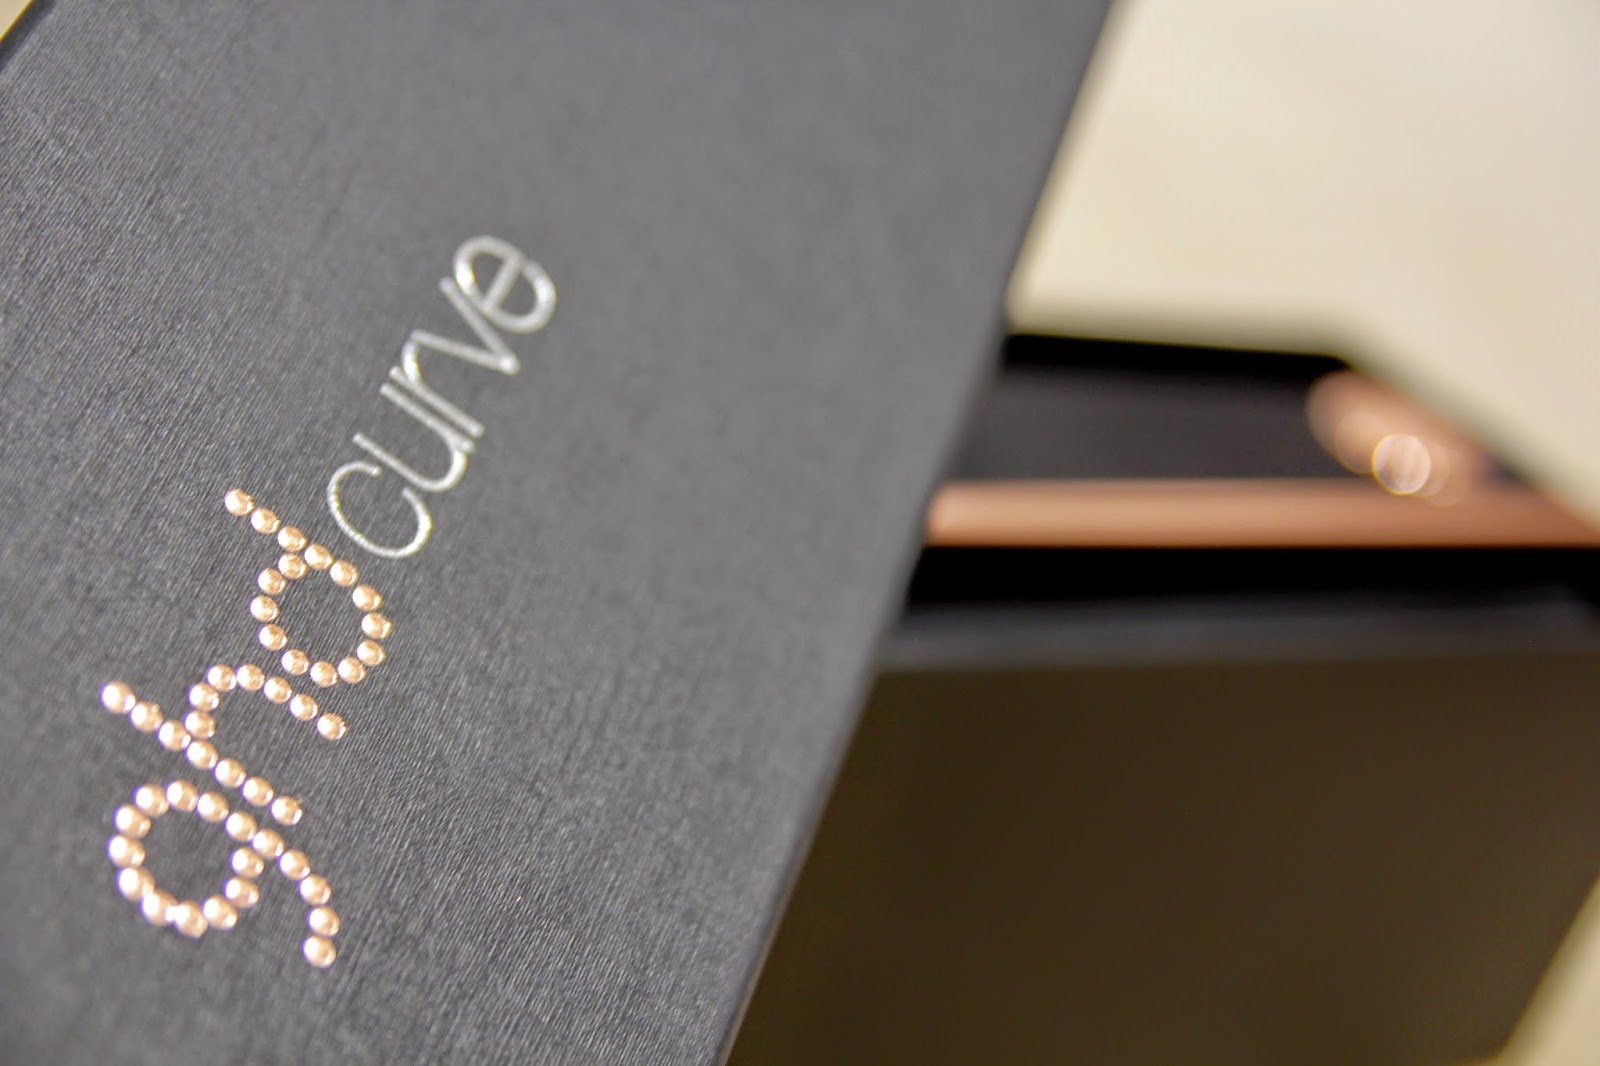
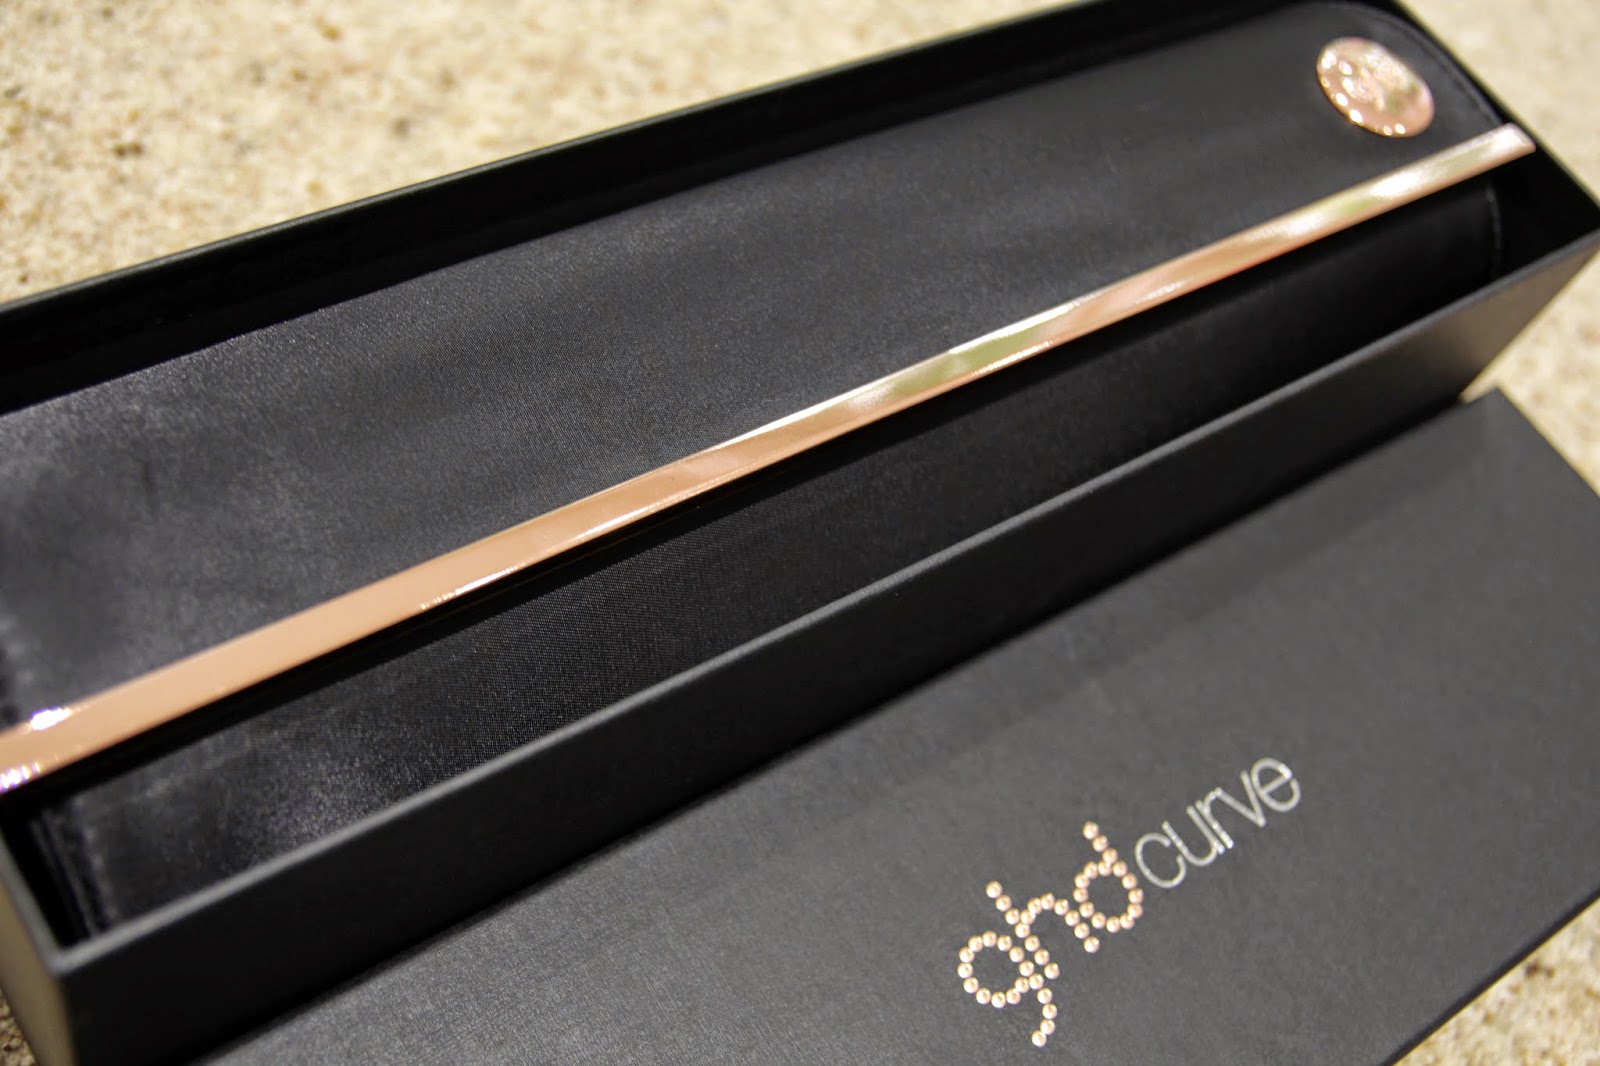
These types of cases are quite the norm for ghd straighteners, but I have to say the ones for Curve are the best quality I’ve ever seen. This packaging is limited edition for Christmas this year, so if you want to get your hands on the rose gold case, you’ll have to move pretty fast!

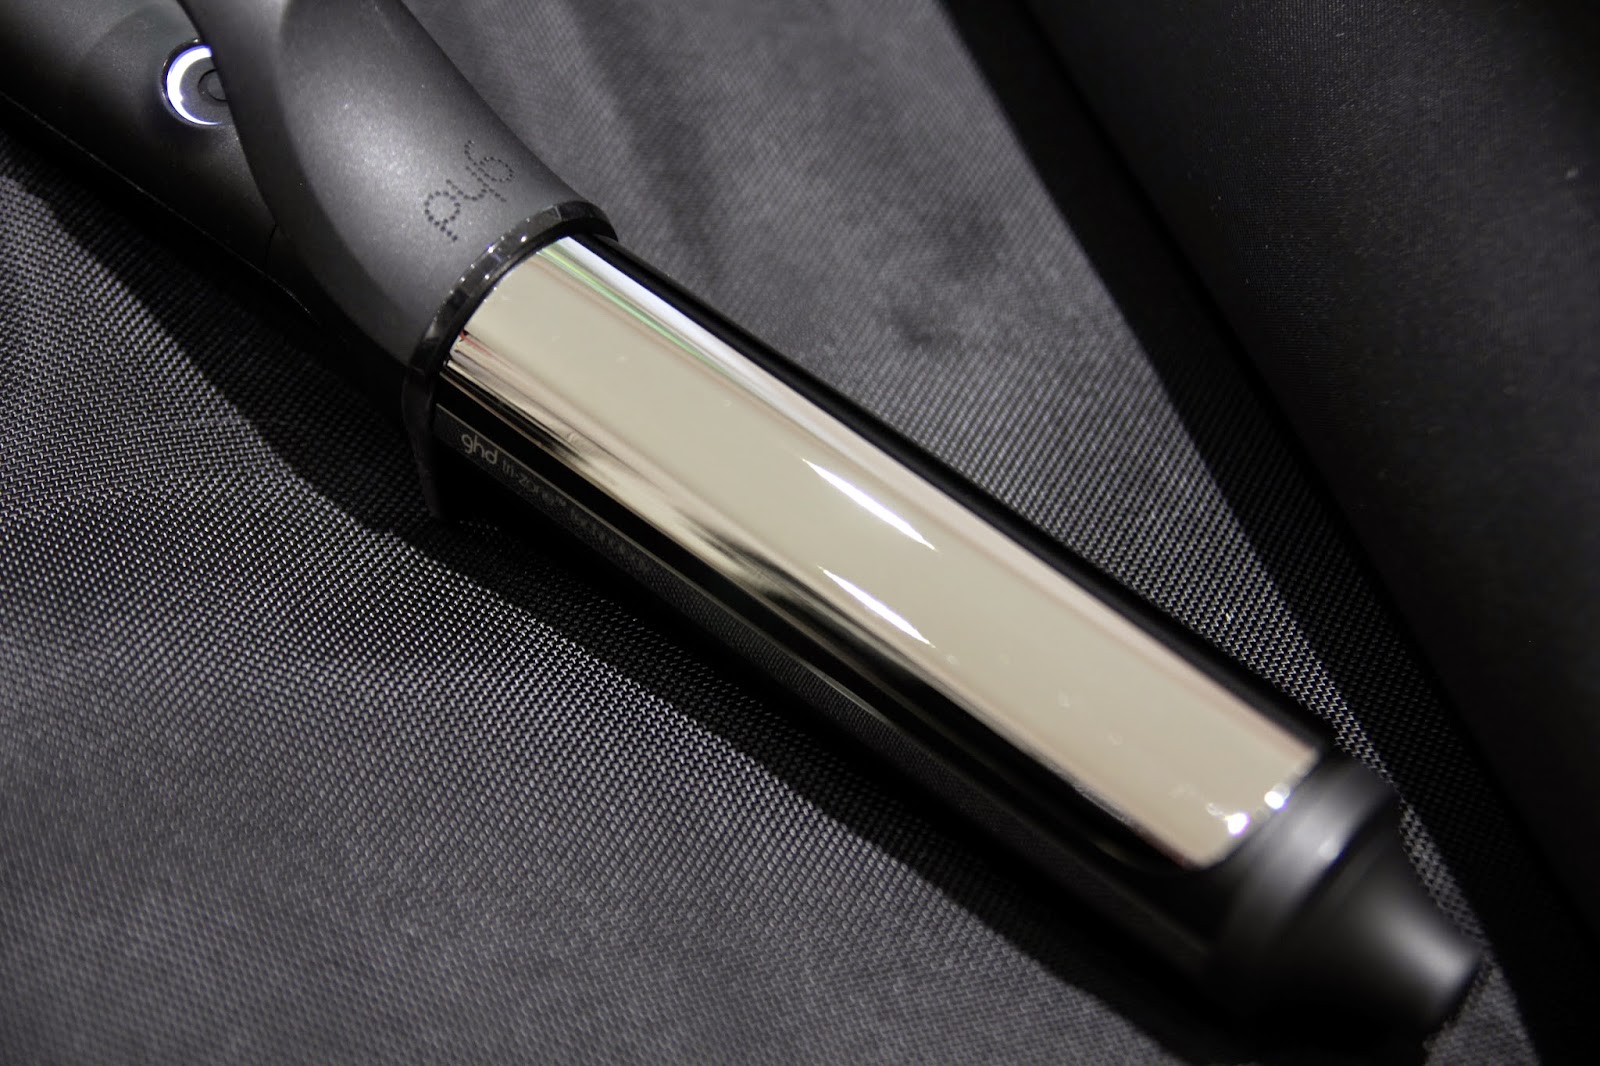
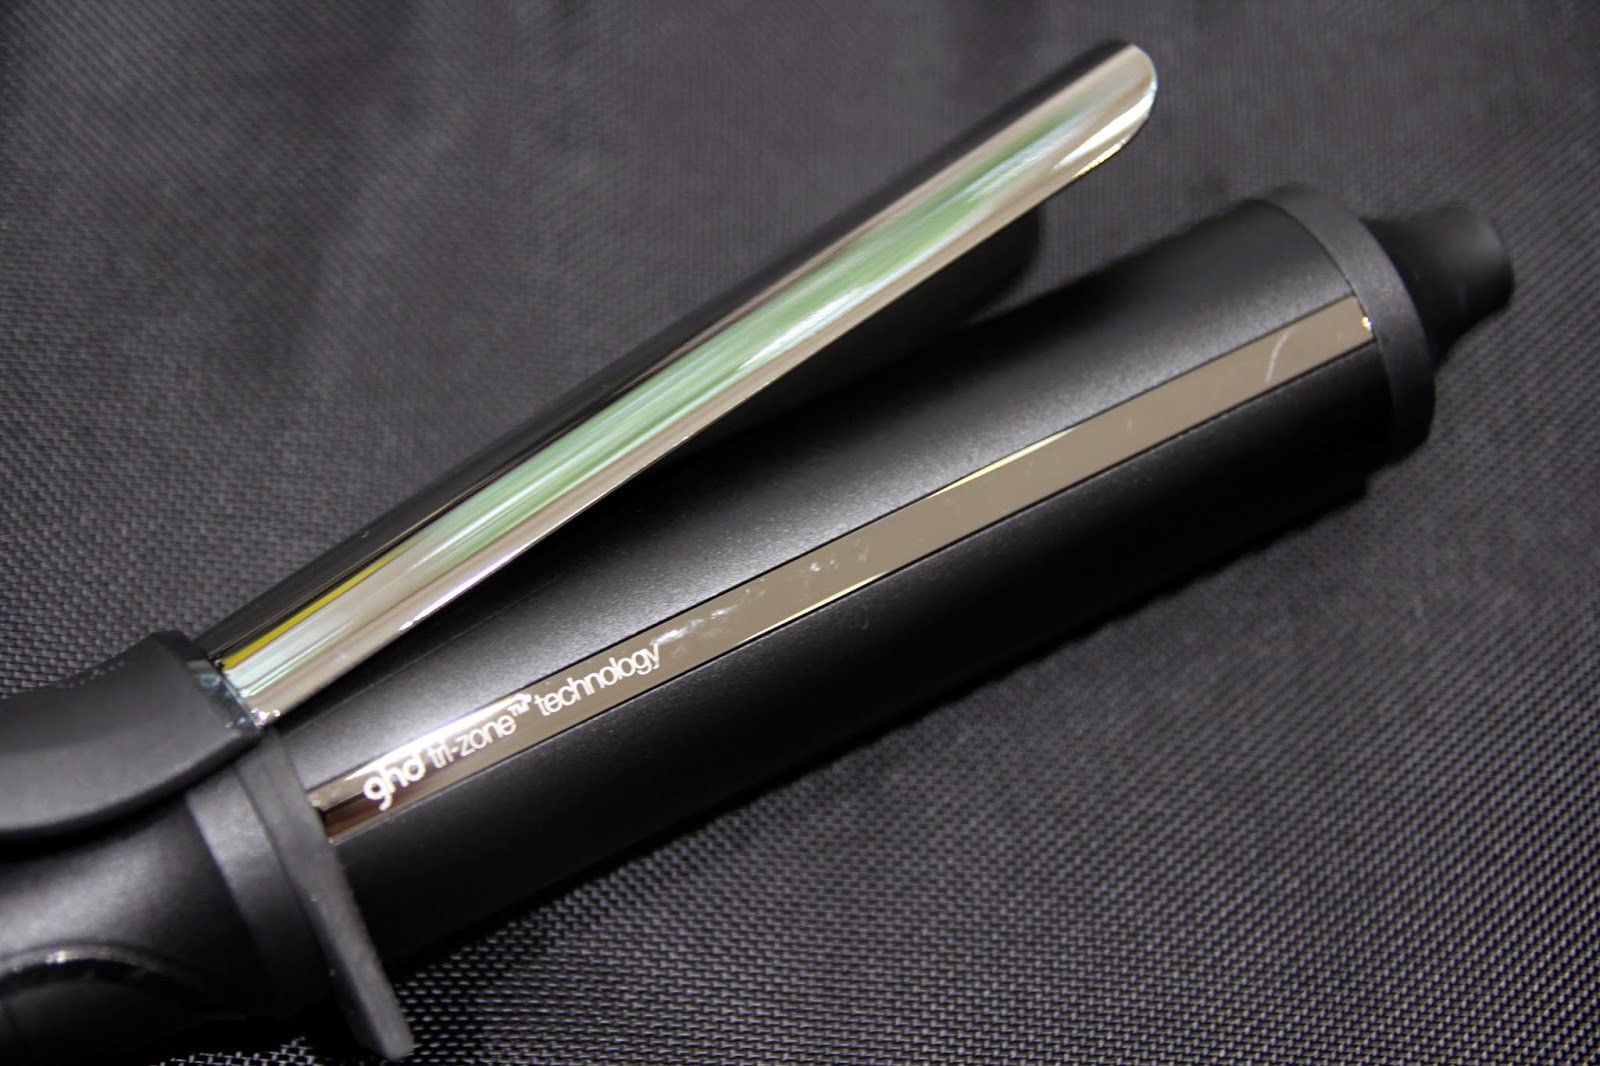
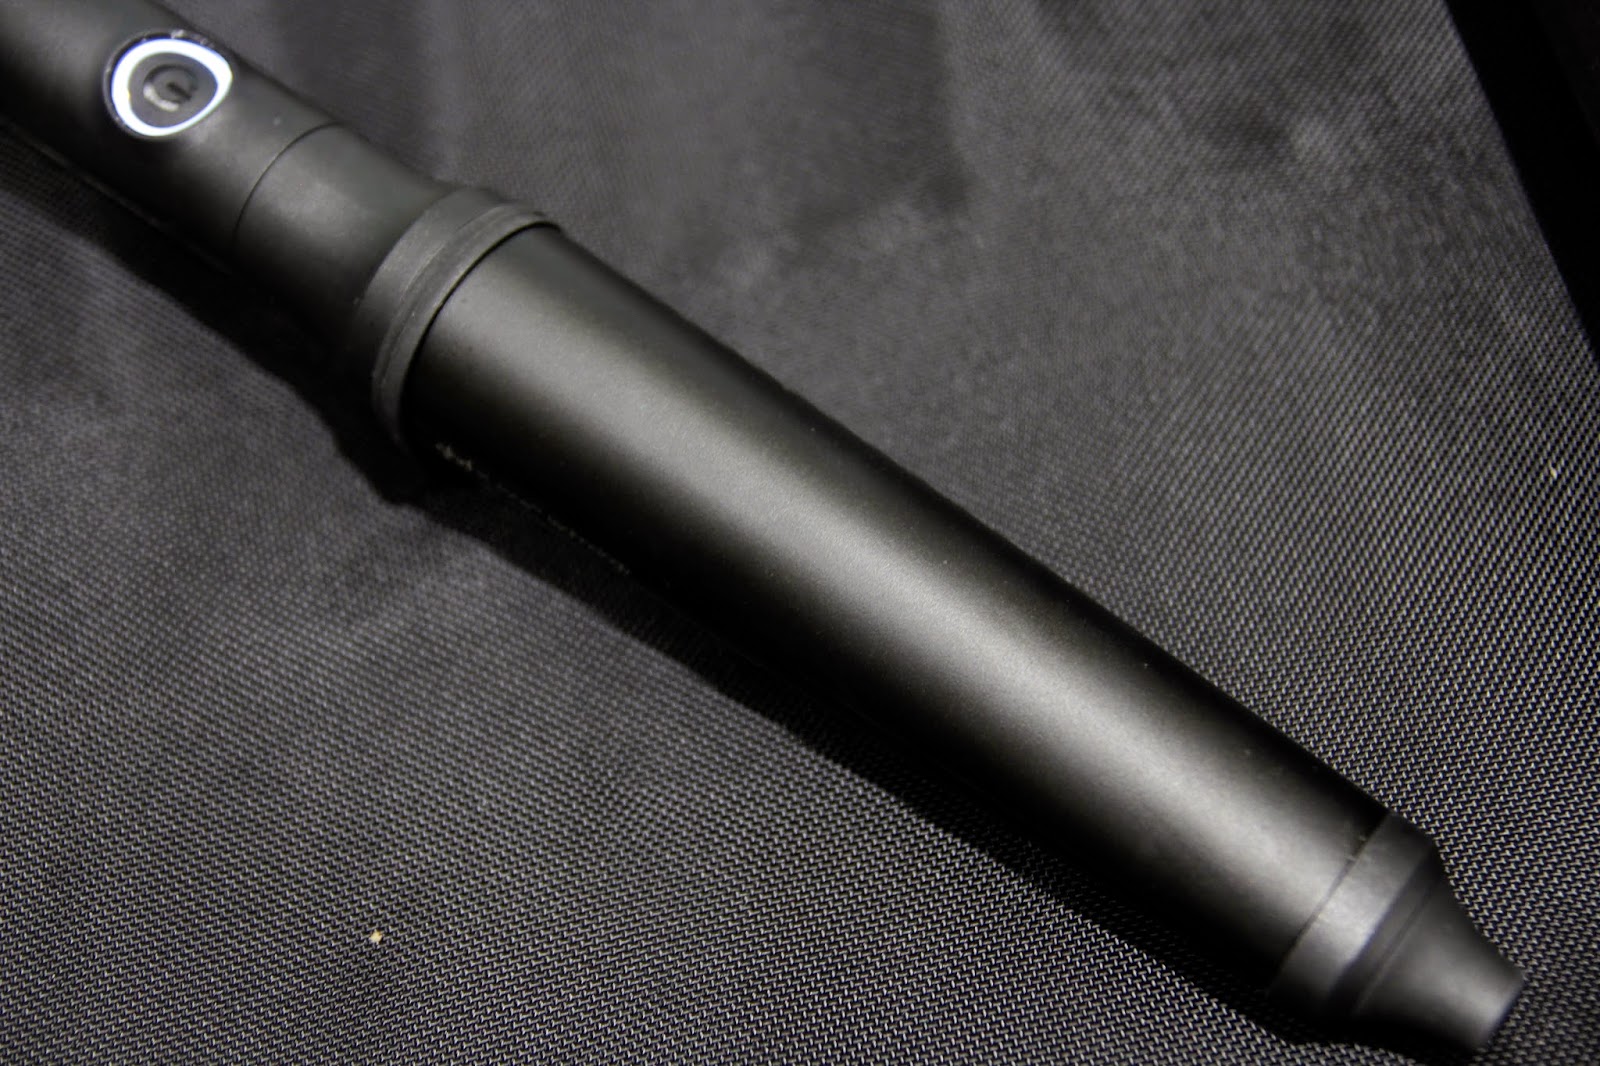
The curlers themselves are matte black, feel smooth to the touch, and sturdy in construction. The on/off button flashes to let you know they are warming up, and illuminates to indicate they are at full heat. They also chime when you switch them on, and again when they reach full heat (185’C, apparently the optimal temperature for maximum styling potential with minimal damage to your hair)
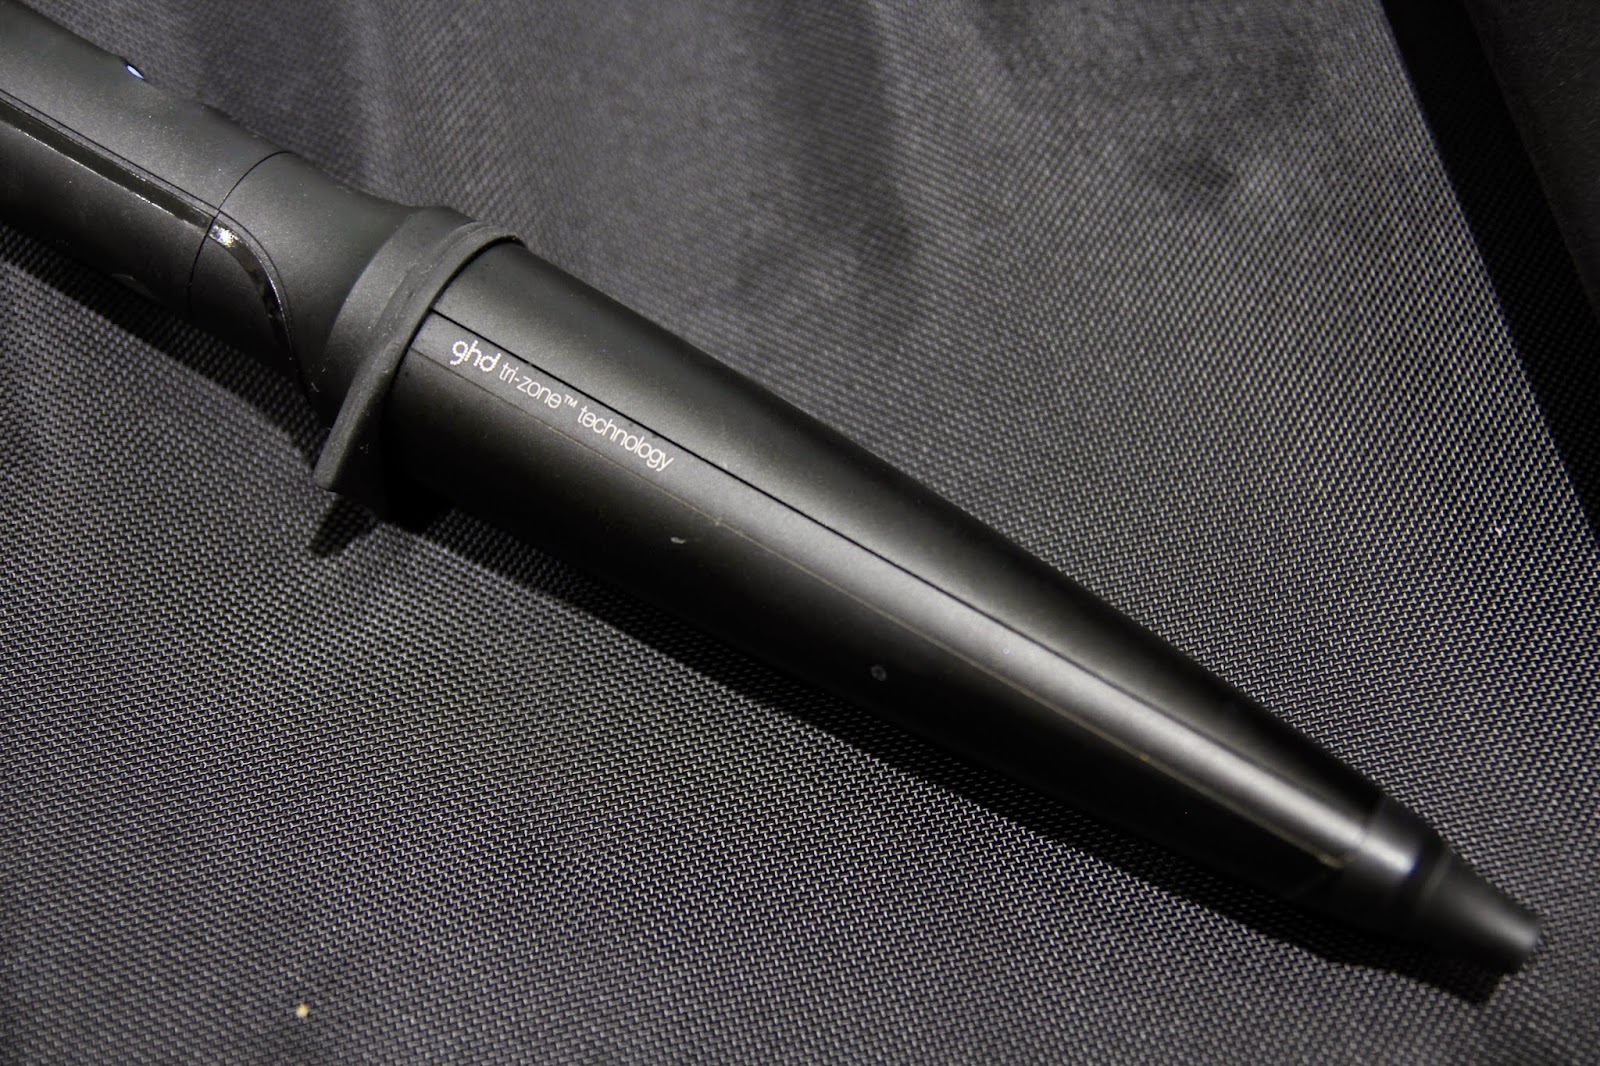
All of the curlers have the same tri-zone technology that the ghd Eclipse stylers had before them. This means they have a more even heat distribution than regular curlers, so you can use the full length of the wand and achieve a consistent style along the length of the hair. They also have sensors that ensure the 185’C temperature is maintained throughout the styling process (as some heat is transferred to the hair itself when you wrap you hair around the barrel). All of this is basically meant to ensure that you get a more even curl, in less time, that lasts longer, and with less damage to your hair.
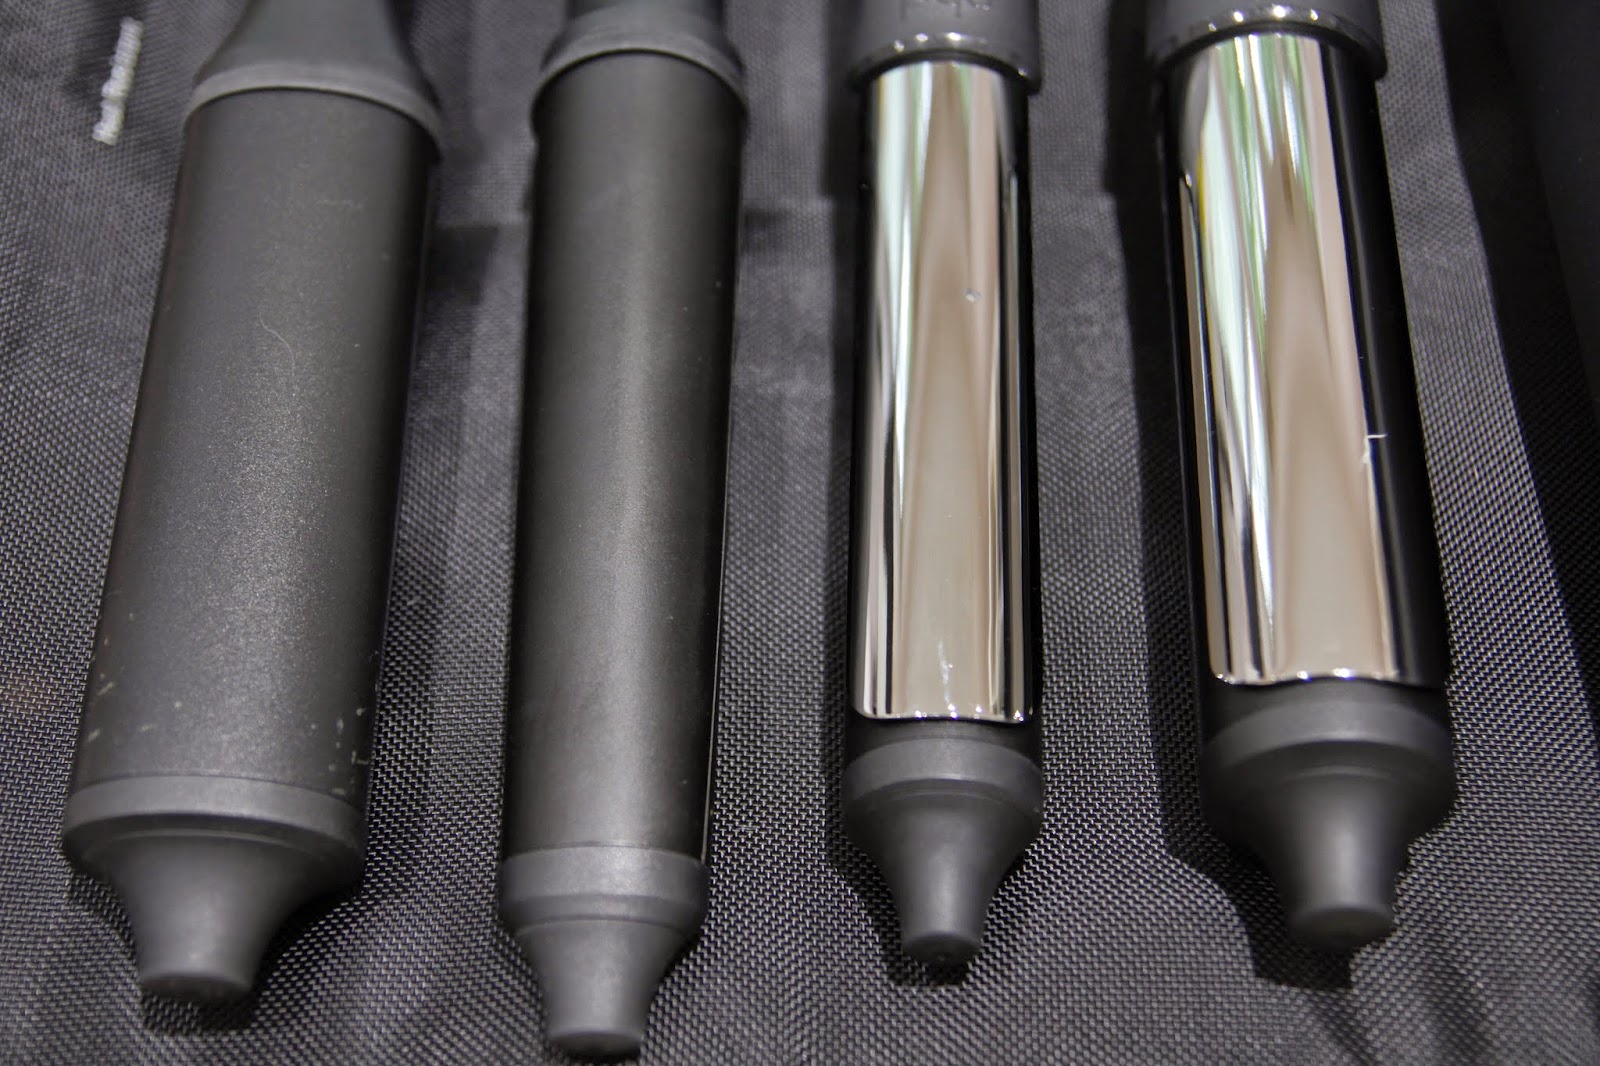 |
| L-R: Classic Wave Wand, Creative Curl Wand, Classic Curl Iron, Soft Curl Iron |
There are four different curlers to choose from; two wands and two tongs. They all look the part… but how do they actually perform, and how on earth are you meant to choose just one?!
I tried out a different curler every day in Chicago, so here is my Curl Diary from my trip. For the sake of a fair trial, I didn’t use any hair products except a leave-in heat protectant. No hair spray, no serum, no texturiser, nothing. Here’s how I got on.
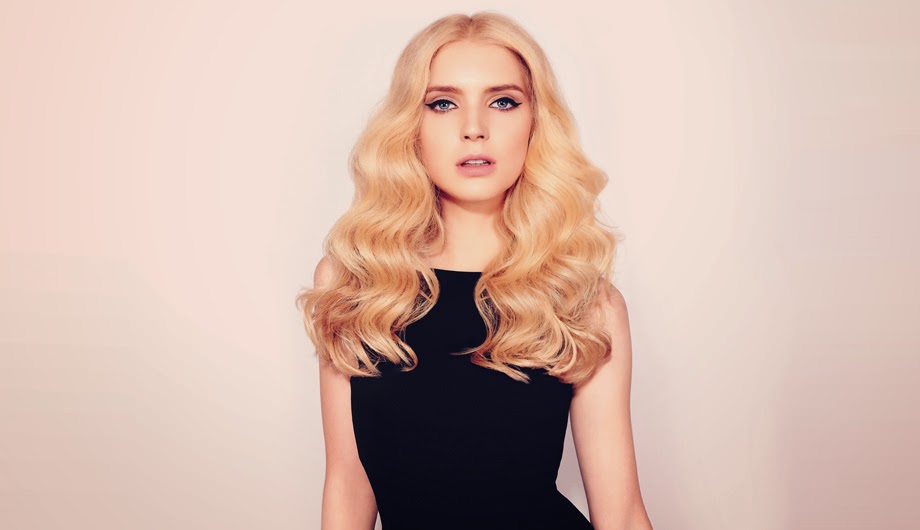
Day 1 – The Classic Wave Wand


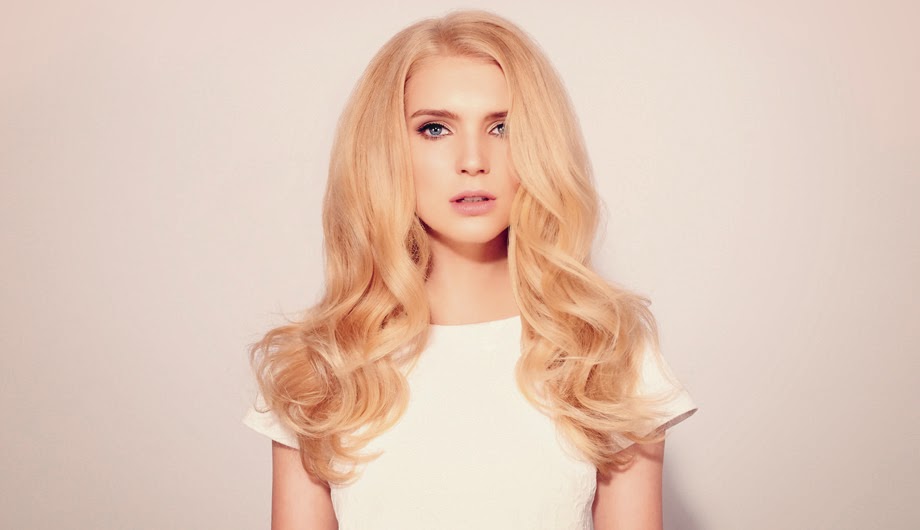
The Classic Wave Wand was the one that stood out to me the most, so I wanted to try it first. The unusual large oval barrel is designed to create classic ‘Hollywood’ curls (like in the picture above), but don’t let this put you off if vintage-style waves aren’t your thing. If you start the curl a little higher (about 1/3 way down my hair) and don’t brush them totally smooth, you get beautiful, relaxed waves. This is exactly the kind of look I like when using a curling wand, and the curls lasted all day out and about.

Day 2 – The Soft Curl Iron
I have to admit I was a little apprehensive to move away from a wand to a tong, as I’ve used wands for years and think they are much quicker and easier to use, however I actually found this tong really simple to use and it only took 5 minutes longer than the wand. The result was quite glamourous: big bouncy curls that looked like a traditional blow dry. I think these would be great if you love that classic blow-out look but don’t have the time or cash to get it done in a salon every week (who does?!).

Day 3 – The Classic Curl Iron
After using the bigger tongs, I wasn’t quite so worried about using the Classic Curl Iron the next day. I have to say that this took the longest and was probably my least favourite look of the four… but having said that, it wasn’t half bad! This gave me more of a classic ‘curl’ (hence the name!) but they lasted well throughout the day. These would be best if you like a ‘proper’, glamourous curl.

Day 4 – The Creative Curl Wand

Last but not least came the Creative Curl Wand. These definitely look the most intruiging of the bunch, and were really quick and easy to use. The resulting waves were actually not much like ghd’s example picture, as I curled them all the same direction, which gives you a much smoother look (which I prefer). The curls are smaller than the Classic Wave Wand, but you can definitely create more of a ‘beachy’ look if you used texturising spray. This was definitely my joint favourite with the Classic Wave Wand.

All in all, if I were to buy just one of these, I would go for the Classic Waving Wand, but I have to say I did love the Creative Curl Wand almost as much, and the Soft Curl Iron too. There’s definitely something for everyone! The staying power was the best I’ve ever experienced using a curler (especially considering I didn’t use any products to help.) They are quite pricey at £110 each, but unmatched in quality, presentation and performance. It took ghd a long time to move into making curlers (they’ve always promoted how great the straighteners are for curling too) but I think these will do tremendously well. They are the best I’ve tried.
It’s fair to say, I’ve never had such fabulous hair on holiday! It was such a treat to try these new stylers out, let alone to do it in Chicago, so a big thank you to ghd for the opportunity, and to all of you reading this for making it possible too.
You can buy the ghd Curve collection now, from the ghd website.
