This week I’m having a Guest Blog Takeover! My final guest blog post of the week has been written by Christine from Polishes and Pleasantries, showing you all how to create this gorgeous nail look!
This nail polish tutorial was inspired by Fleur’s summer vacation. The great thing is that it is super easy and still looks super cute! I hope you like it.
What you need: From left to right: ‘Planks a Lot’ by OPI, ‘Layla’ by Zoya, ‘Celtic Sun’ by China Glaze, ‘Towel Boy Toy’ by China glaze and a small brush.
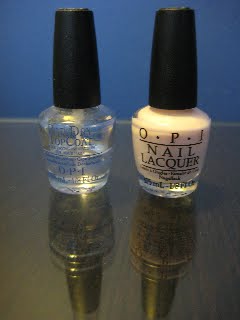
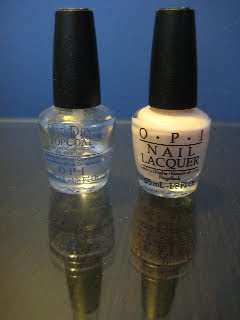 Finally: ‘Rapid Dry Top Coat’ by OPI and ‘Step Right Up’ by OPI
Honestly, you can use any colors that you want. I just chose these colors because they are bright and perfect for summer!
Step 1: Paint your nails with the base color. I would suggest an off-white color to make the flowers pop. I painted my nails with three coats of ‘Step Right Up’ by OPI. You can see the final effect on my middle finger.
Step 2: Then paint three yellow dots on each nail.
Step 3: Start by painting the pink flowers, one on each nail. This is really easy just make a little line coming out from the centre of the yellow dot. I did five little lines for each flower. It looks really cute when one of the flowers hang off the edge, in this case you can just paint however many petals seem appropriate.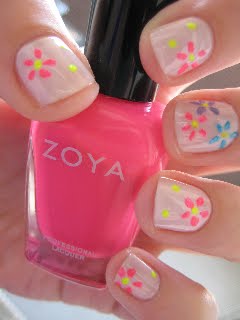
Step 4: Next, paint all of the blue flowers the same as you did the pink.
Step 5: Then paint all of the purple flowers the same as you did with the pink and blue.
Step 6: Finally, go over it all with a topcoat. And you’re finished!

I hope you find it as easy and cute as I do. Like I said before, feel free to use whatever colours you want for the flowers. You could even have all different coloured flowers or you could just have flowers on the ring finger for a more subtle look.
Be sure to check out Christina’s blog HERE!